How to upload data using the CEW File Uploader
We are currently phasing out this method to upload data. However, in the meantime, you can use the spreadsheet our Onboarding team has shared with you to upload data. Please ask the team for the spreadsheet if you have not received it.
1. Prepare your spreadsheet. All mandatory fields are displayed in bold.
Important advice:
Please do not modifying any text within rows 1 and 2, as this may cause the data to misalign with our systems, potentially leading to the omission of some patients during the upload process.
Please do not copy and paste data into the spreadsheet as this will override the data validation applied, which may affect your data import.
Please ensure each NHS number includes all ten digits.
Before uploading the file, please take a moment to double-check that it is the correct document with the necessary data inputted into each row.
If multiple results are available for a patients, those need to be added into a separate row per clinic appointment. (E.g. multiple results for weight and height would need to go on a separate row for a patient. The NHS number and other mandatory details should also be duplicate.)

2. Convert your spreadsheet into a CSV file.
A. Click ‘File’ → ‘Save As’
Click File in the top menu.
Select Save As.
Choose the location where you want to save the file
B. Select ‘CSV’ Format
In the Save as type dropdown, select CSV (Comma delimited) (*.csv).
C. Click ‘Save’
If a prompt appears warning about CSV supporting only one sheet, click OK.
If your Excel file has multiple sheets, only the active sheet will be saved as CSV.
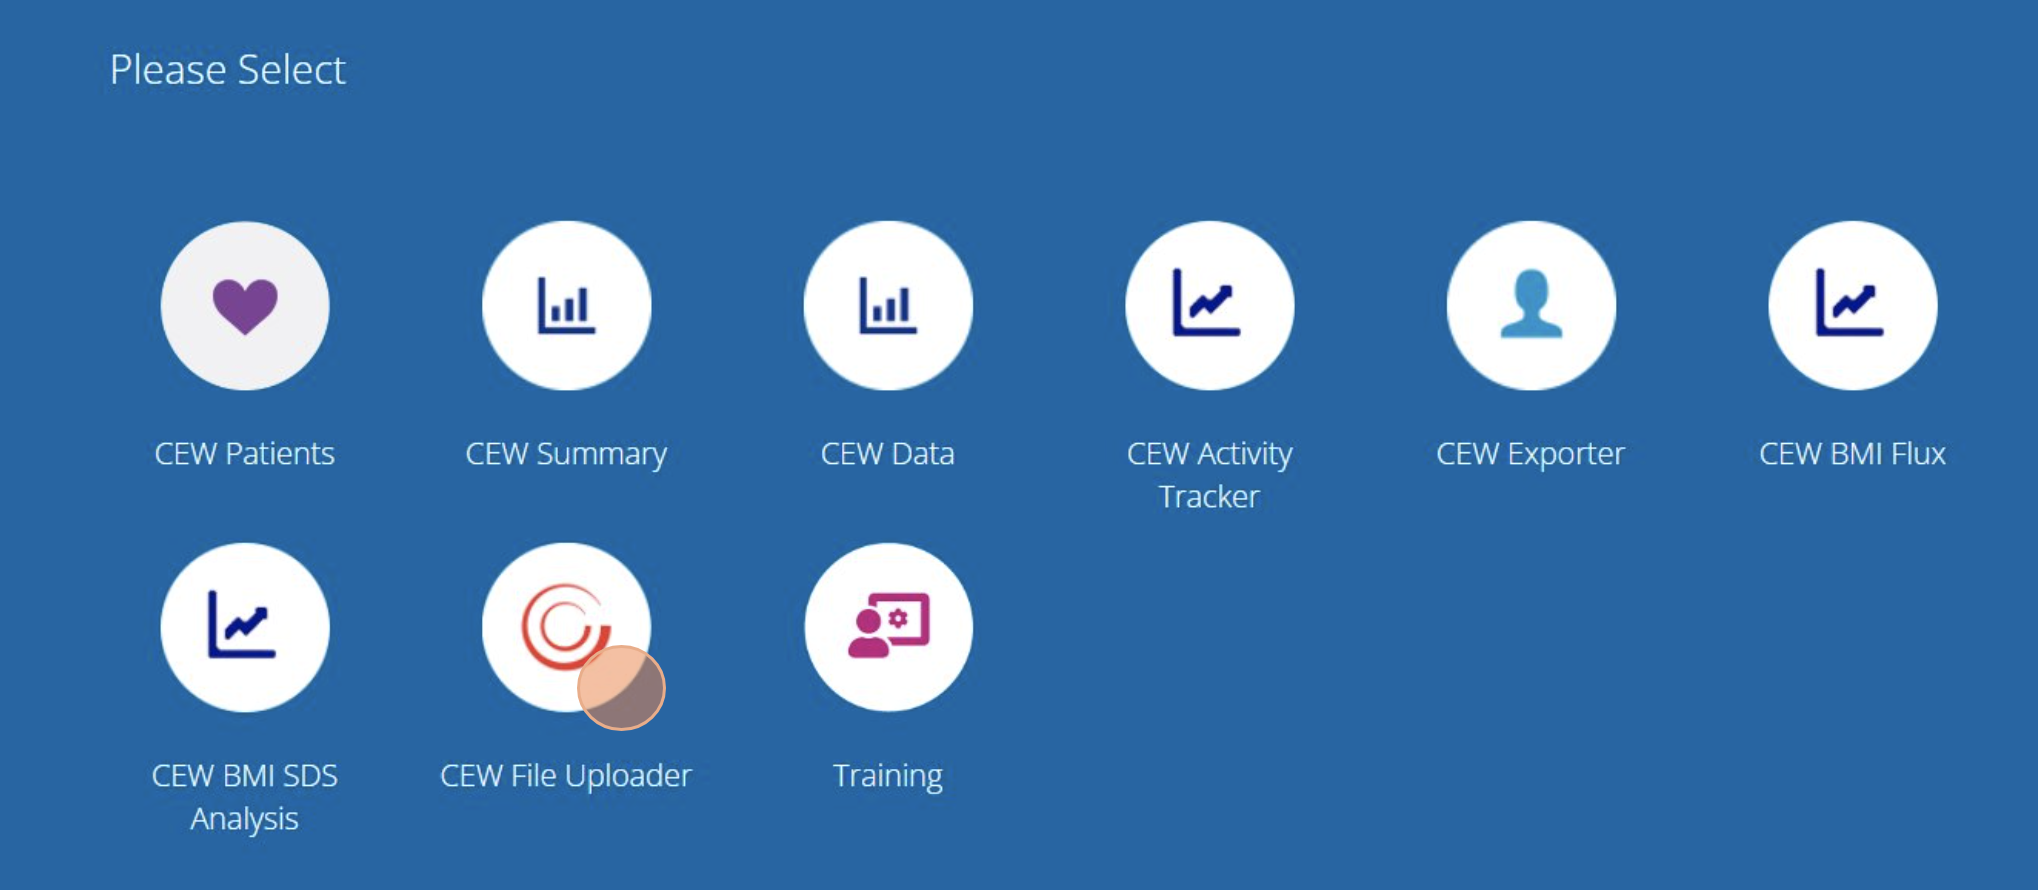
3. Once you are ready, log into the portal and select CEW File Uploader.
4. Select Choose File and select the spreadsheet you want to upload.

5. Select Upload Document.

Tutorial Complete!