
SNEE NHS Health Checks
View Patient Engagement Results
For PID Eclipse is accessed via https://secure.nhspathways.org when using HSCN/N3.
For non-PID Eclipse is accessed via www.nhspathways.org
1. Navigate to https://secure.nhspathways.org/ (this will require a secure HSCN/N3 network)
2. Enter your username and password
You will have received your username via an email from the Eclipse support help desk
3. Select Sign In

4. Request your passcode via Email or SMS*
*By default the code will be sent to you NHS email, unless a phone number was provided at the later stage. You can also update your information within the system.

5. Check your Email (or Phone) for a 6-digit passcode.

6. Enter the passcode.
7. Select Enter Site.

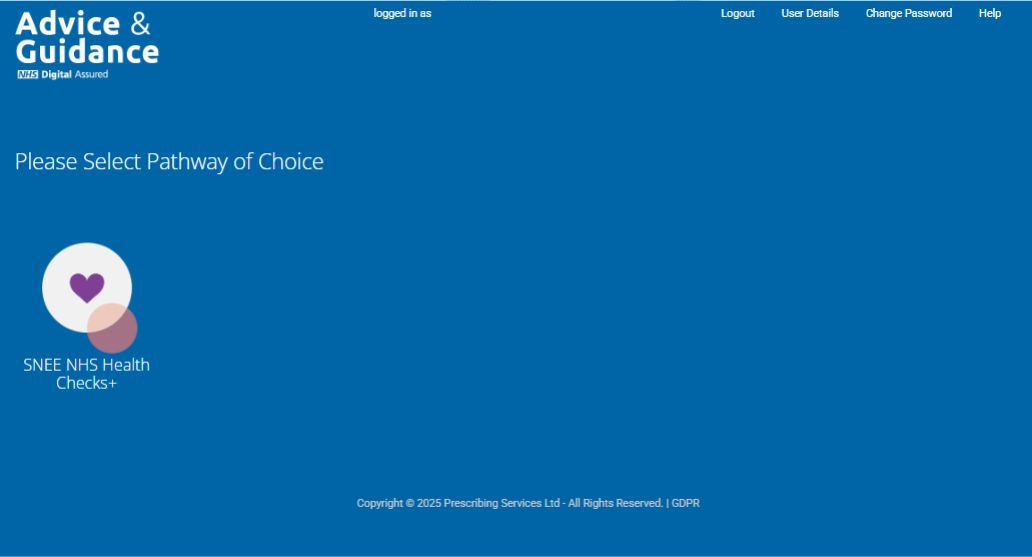
8. Select SNEE NHS Health Checks+
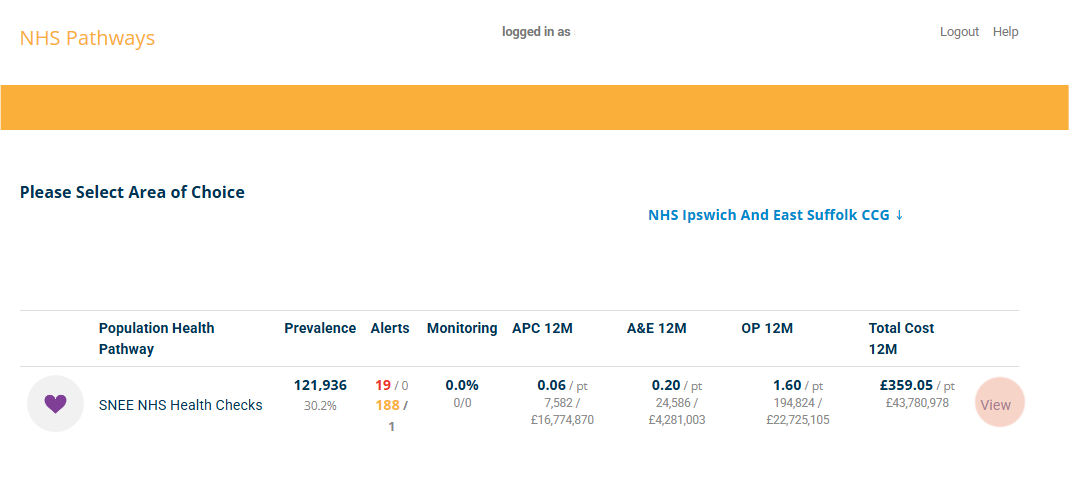
9. Click “View” in the Pathway entrance screen.
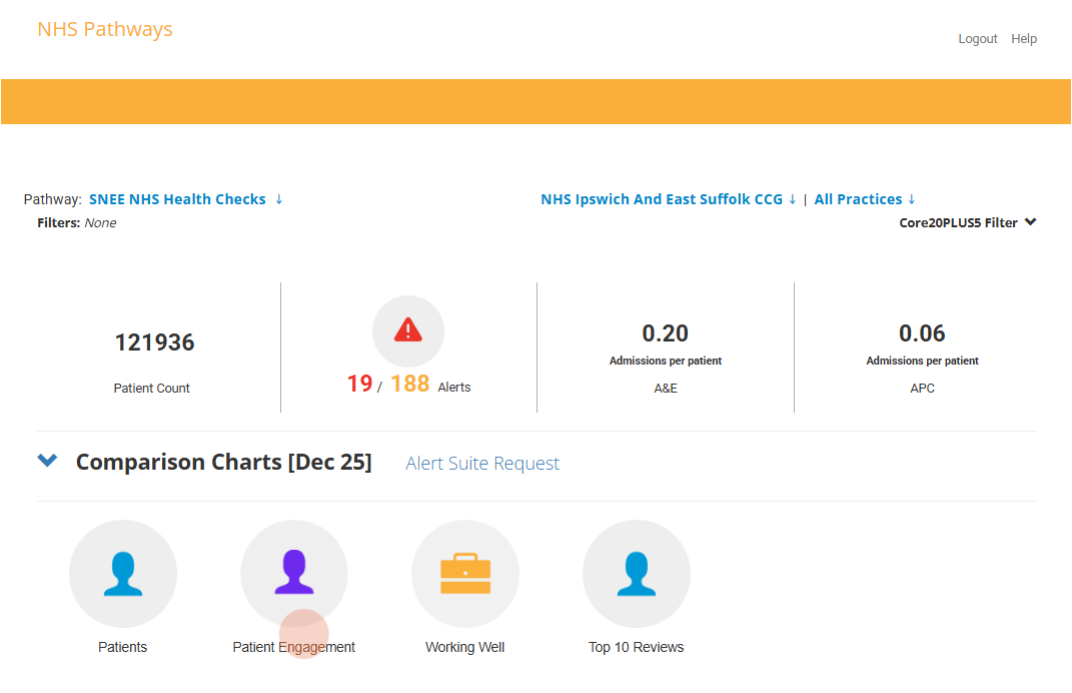
11. The Patient Engagement page breaks the cohort population down into subcategories of patients based on certain criteria. Click View to open a list of all patients for each subcategory. Categories 7a and 7b can be used to identify and book patients who have chosen to participate in the programme.

10. On the pathway home page click Patient Engagement.
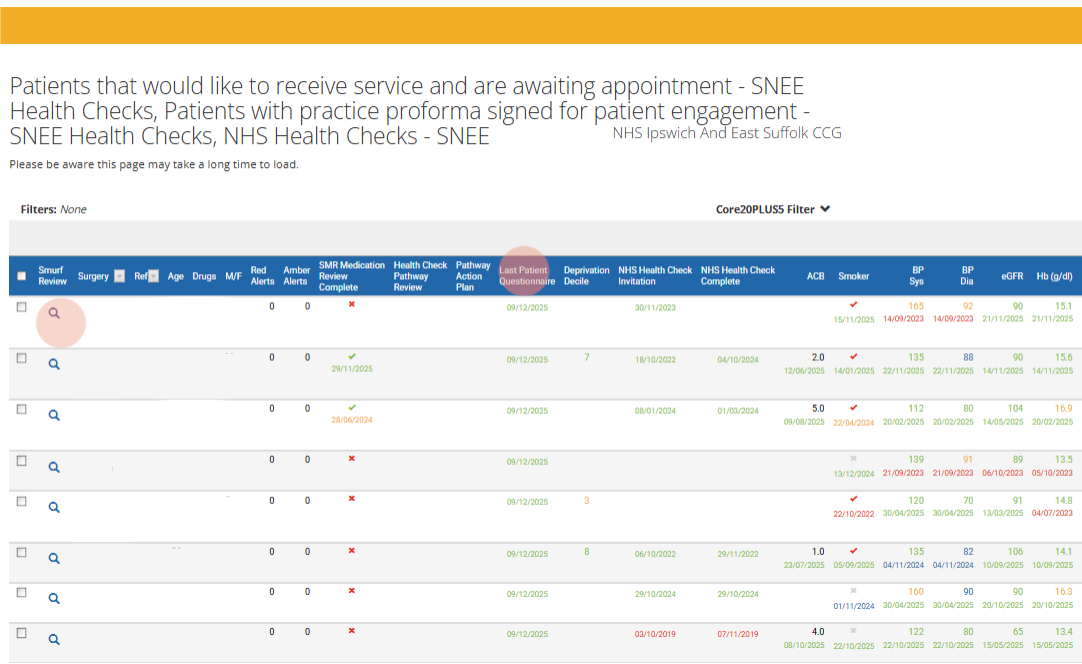
12. Click on the magnifying glass to view the SMURF of each patient. You will be able to view their completed questionnaire here and book a review according to capacity and their preferences. Questionnaire can be quickly viewed from the “Last Patient Questionnaire” column listed on the patient grid.
13. Click on “Review Last Qu” to open the questionnaire response within the patient’s SMURF page. (Note: the label for a completed questionnaire will say NHS Health Checks Questionnaire - SNEE. It may be found under the Status section or the Informatics section of the SMURF)
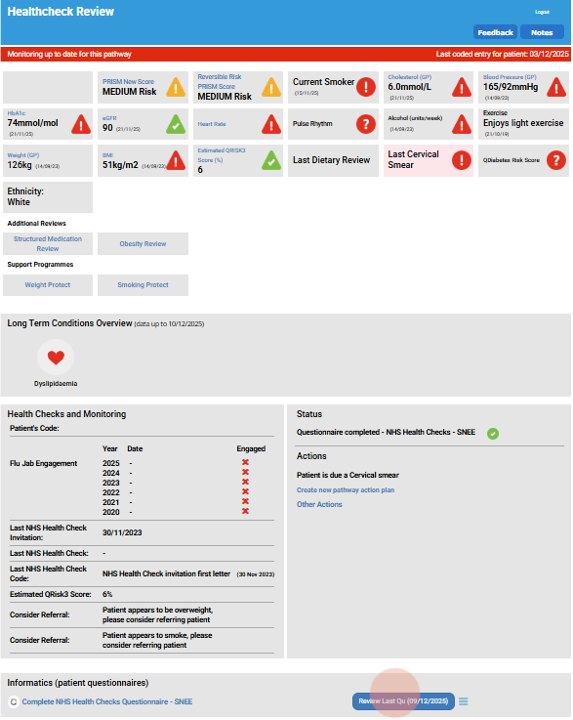
14. The questionnaire will open with pre-populated values from the patient.

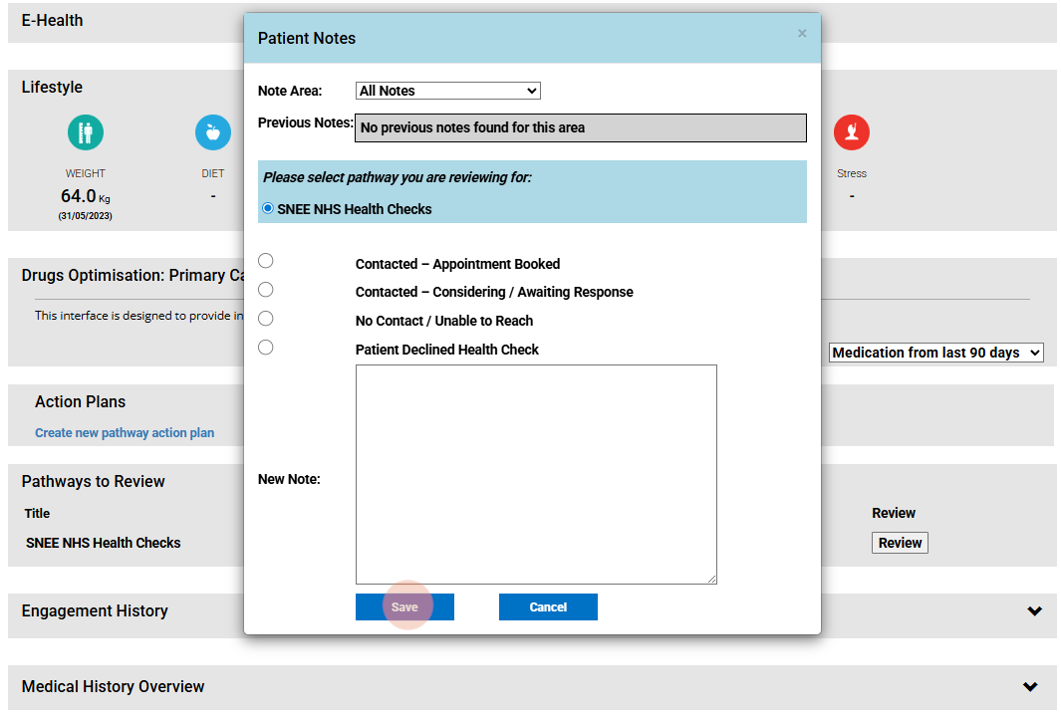
15. If you wish to track patient appointment bookings, scroll down on the patient’s SMURF page and select “Review” under Pathways to Review.
16. Select the most appropriate patient note option, provide free text comments if desired, and click “Save”.
Tutorial Complete!